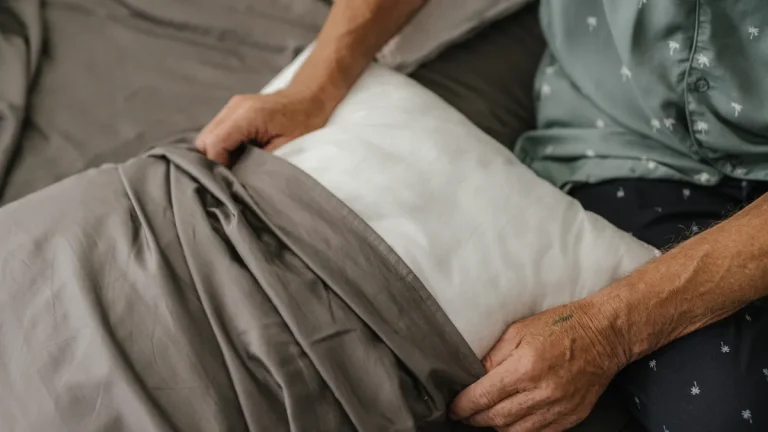
Hands stuffing a pillow insert into a gray cover
Last updated: November 18, 2026
Key Takeaways
- A pillow cover looks loose when the cover seam has more room than the pillow insert can support.
- Build up the insert edges, hand-set the corners, and use a firmer fill before blaming the cover.
- A fuller pillow insert usually does more to reduce bagginess than after-the-fact adjusting.
- The zipper side, seam line, and corners usually reveal loose-looking covers first.
A loose pillow cover usually looks that way because the insert is too soft, the cover has too much ease, or the fill has settled away from the corners. This guide on how to stop a pillow cover from looking loose or baggy starts with the quickest fixes: firmer loft, better edge control, and a quick hand-fluffing routine that redistributes the insert inside the cover.
If the cover is only slightly baggy, you can often improve it in under 5 minutes without changing the cover itself. If it hangs like a sack no matter how you arrange it, the problem is usually the insert size and fill density, not your folding skills. The basics are the same whether you are using an 18 x 18 or a 20 x 20 insert.
What actually makes a pillow cover look loose

A pillow cover looks loose when the cover seam has more room than the pillow insert can support. That mismatch shows up first at the corners and along the zipper edge, where the fabric stops looking crisp and starts puddling. A square 18 x 18 cover with a flat, tired insert will usually show this faster than a cover with a fuller insert and tighter fill.
The main causes are simple. The insert may be underfilled. The fill may have shifted to the center. The cover fabric may have relaxed after a few days on the sofa or bed. A zipper can also make one edge collapse if the insert is not sitting all the way into the seam.
A generic fix often misses the real issue: bagginess is not always a size problem. A cover can be the “right” nominal size and still look soft because the insert has lost spring. That is why hand fluffing matters. It changes the shape inside the shell, not just the shell itself.
For readers who want the fit fundamentals in one place, the pillow cover fit hub can sit beside this guide and handle the broader sizing questions this page is not meant to cover.
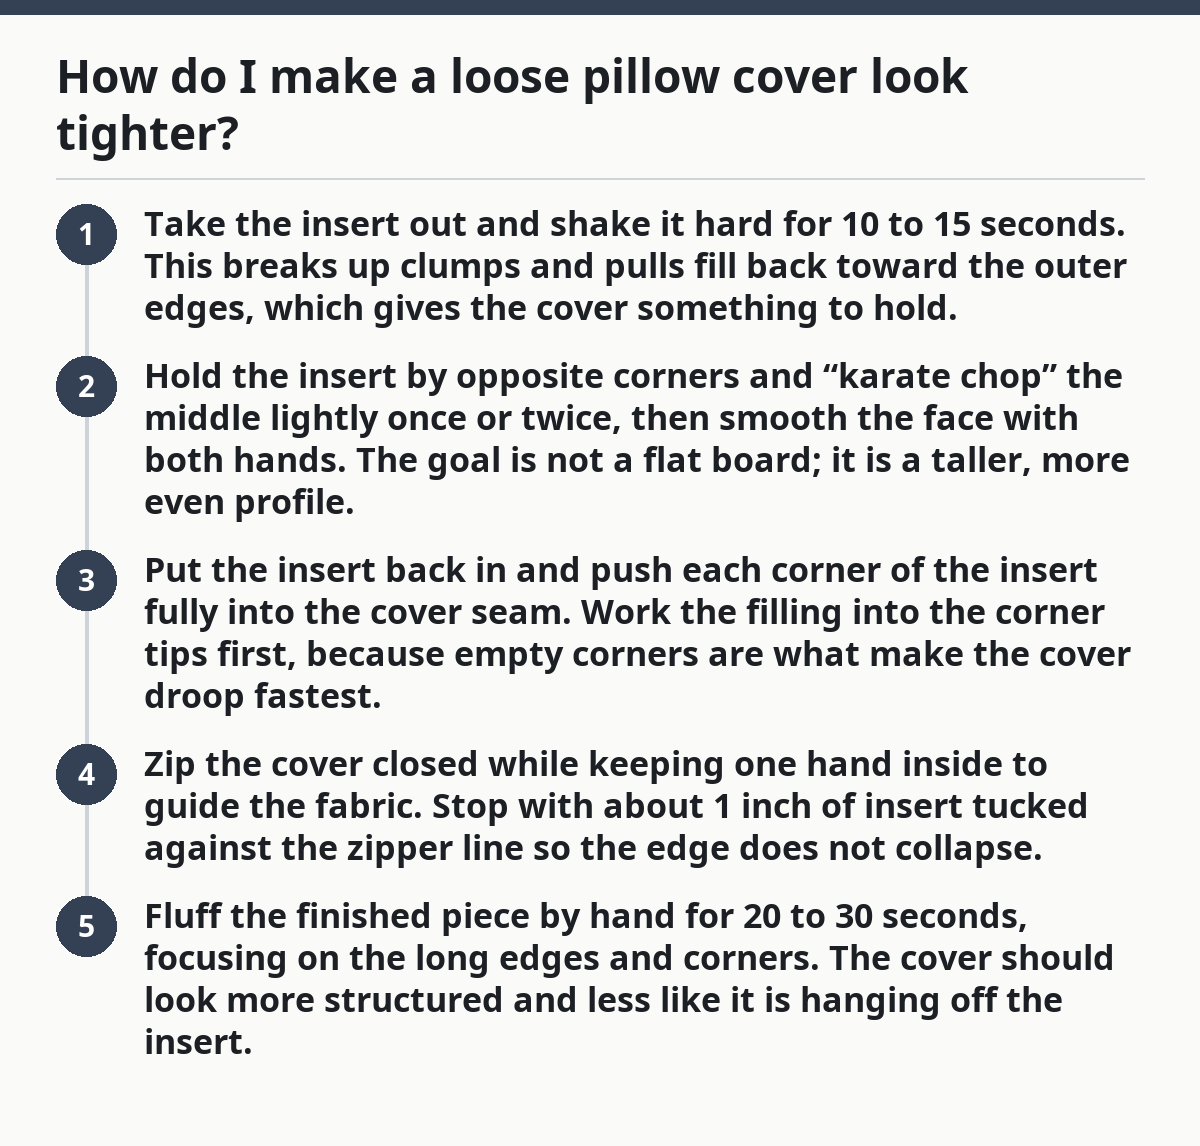
How do I make a loose pillow cover look tighter?
Make the insert fuller at the edges, square up the corners by hand, and choose a firmer fill before you blame the cover. Those three changes solve most loose-looking covers without any sewing.
Here is the core procedure:
- Take the insert out and shake it hard for 10 to 15 seconds. This breaks up clumps and pulls fill back toward the outer edges, which gives the cover something to hold.
- Hold the insert by opposite corners and “karate chop” the middle lightly once or twice, then smooth the face with both hands. The goal is not a flat board; it is a taller, more even profile.
- Put the insert back in and push each corner of the insert fully into the cover seam. Work the filling into the corner tips first, because empty corners are what make the cover droop fastest.
- Zip the cover closed while keeping one hand inside to guide the fabric. Stop with about 1 inch of insert tucked against the zipper line so the edge does not collapse.
- Fluff the finished piece by hand for 20 to 30 seconds, focusing on the long edges and corners. The cover should look more structured and less like it is hanging off the insert.
This method is best for standard decorative covers where the issue is mild slack, not a dramatically undersized insert. If the cover still looks baggy after this, the insert probably does not have enough loft or density to fill the shell well. In that case, the next step is not more tugging; it is a better insert.
A useful rule of thumb is that crisp covers usually need firmer internal support than casual, slouchy styling. A very soft fiberfill insert can look relaxed on purpose. A poly-fill or down-alternative insert with a denser hand tends to hold the cover seam more cleanly.
The insert size and fill density are usually the real fix

A fuller pillow insert usually does more to stop bagginess than any amount of adjusting after the fact. The insert has to press gently against the cover seam so the fabric has shape, especially at the corners and zipper side.
This is where beginners often go wrong: they focus on the cover size alone and ignore how much spring the insert actually has. Two inserts with the same labeled size can look completely different once covered. A cheap, limp 20 x 20 insert may still leave a cover looking soft, while a denser 20 x 20 insert can make the same cover look tailored.
The trade-off is clear. A fuller insert gives a neater silhouette, but too much extra bulk can make the cover hard to close and distort the corners into a bulge. That is why an insert that is slightly fuller than the cover works better than one that is dramatically oversized. You want pressure, not strain.
The fill material matters too. Down and down-alternative usually compress differently from polyester fiberfill, so the cover can read as softer or firmer even when the numbers match. Foam inserts tend to hold a more defined edge, while very plush inserts can look great on a bed but a little too casual on a formal sofa.
If the cover is a standard decorative style and looks loose even after hand fluffing, the honest answer is that the insert is the weak point. No amount of folding the cover fabric will create structure that is not there.
What to do at the zipper, seam, and corners
The zipper side, the cover seam, and the corners are where loose-looking covers usually give themselves away. If those three spots are controlled, the whole piece looks more intentional.
Start with the corners. Push the insert all the way into each corner tip before zipping. If the fabric around a corner looks empty, the whole cover will read as baggy even if the center looks fine. A flat corner is usually a fit problem, not a styling problem.
Next, deal with the zipper edge. A cover often looks loose along that side because the insert sits short of the seam by an inch or two. Pull the fill gently toward the zipper line before closing it. If the zipper is exposed or rippling, the insert is not pressing evenly against that edge.
Then smooth the seam line itself. Run your fingers along the cover seam and lift the fabric slightly so it sits straight, not twisted. This matters more on woven covers with visible texture because a crooked seam makes the whole cover look sloppy. A neat seam does not make the insert bigger, but it does make the shape look cleaner.
One honest limitation: if the seam allowance is generous or the zipper opening is long, there is only so much the hand can do. A roomy cover made with extra ease may look softer than a tailored one. That is not a failure of styling. It is the construction of the cover.
How hand fluffing changes the look in under a minute
Hand fluffing changes the silhouette by moving fill back to the perimeter and restoring loft after the insert has been compressed. It can be the quickest way to improve a loose-looking cover, and it works best when done every few days.
The practical version is simple. Hold the pillow on both sides and give it 3 or 4 firm shakes. Then punch the edges lightly with both hands, working all four sides. Finish by pressing the center with your palms so the face becomes evenly rounded instead of lumpy.
This is not the same as overworking it. Too much squeezing can push fill away from the corners and make the cover look slack again. A short, consistent routine is better than a long one. For a sofa used daily, 30 seconds of fluffing is usually enough to keep the cover looking intentional.
Hand fluffing is most useful when the cover looks fine right after making the bed but loosens later in the day. That usually means the insert is softening under use, not that the cover has failed. On those pieces, a quick reset every morning or evening keeps the shape from going flat.
The limit is obvious: fluffing can improve shape, but it cannot turn a thin insert into a supportive one. If the cover still hangs after a full fluff, you need a denser insert or a different fit strategy.
When overstuffing helps — and when it makes the cover look worse
A slightly fuller insert can help a loose cover, but true overstuffing often creates a different problem: the cover starts to bulge at the seams instead of sitting cleanly. The sweet spot is enough fill to support the corners, not so much that the zipper line strains.
Use a fuller insert if the cover reads saggy from the front and the fabric has visible slack at the corners. That extra pressure helps the cover sit up instead of collapsing. This is often the right move for square decorative covers that have relaxed over time.
Do not keep increasing bulk once the cover already looks round and the seam is pulling. At that point, the insert is too large for the cover structure. A tight seam can distort the face of the cover and make it look puffy rather than polished. On a 20 x 20 cover, for example, a big jump in insert fullness can create a lumpy edge that looks worse than the original slack.
The better approach is gradual. Add fullness in small steps, then step back and look at the cover from 6 to 8 feet away, the distance most people actually see it from on a bed or sofa. That view tells the truth faster than staring at the fabric up close.
Common mistakes that make a cover look baggy again
A loose cover often comes back because the same few mistakes keep getting repeated. The first is using a very soft insert and expecting the cover to hide it. Soft fill feels comfortable, but it gives the cover less edge support.
The second mistake is leaving air pockets in the corners. That costs the cover its shape almost immediately, especially in square sizes like 18 x 18 or 20 x 20. Push the fill all the way out every time.
The third mistake is zipping the cover before the insert is seated correctly. If the insert sits low, the top face slouches and the zipper edge droops. Set the fill first, zip second.
The fourth mistake is ignoring fabric relaxation. Some cover fabrics soften with use and need more frequent fluffing. A cover that looked sharp on day one may need a firmer insert by week two if the fabric and fill both settle.
The practical fix is not to keep tugging harder. It is to combine firmer fill, corner placement, and hand fluffing in one routine. That gives a cleaner result than any single move by itself.
What a better-looking loose cover looks like
A better-looking loose cover is not stiff. It is supported. You should see a straight seam line, filled corners, and enough body that the front panel sits away from the insert without drooping.
If the cover is still too relaxed after the steps above, the honest answer is that the fit is wrong for the look you want. Some covers are designed to read casual. Others are cut with more ease than a tailored style. The difference shows most clearly on the edge of the zipper and in the depth of the corners.
That is why the quickest path is usually this order: fluff the insert, seat the corners, check the zipper edge, then decide whether the insert needs more density. If you skip straight to tightening the cover, you end up fighting the fabric instead of shaping it.
For the broader sizing and fit decisions behind all of this, the pillow cover fit hub is the right next stop. This page is about the appearance problem: how to make a loose cover look better right now, with the materials already in hand.
Why does my pillow cover look baggy?
It usually looks baggy because the insert does not fill the cover seam evenly. Soft fill, shifted corners, and extra ease in the cover all make the same problem show up as slack fabric. A quick hand-fluffing routine can improve it, but a fuller insert is often the real fix.
Should I use a bigger insert for a tighter look?
Usually, yes, but only a little bigger. A slightly fuller insert can help the cover sit up and hold the corners, while an insert that is too large can make the seams bulge. The best result comes from added loft, not strain.
How can I make a pillow cover look fuller?
Make the insert denser at the corners, smooth the seam line, and fluff the fill by hand for 20 to 30 seconds. A firmer insert gives the biggest improvement, especially if the cover is a standard decorative size and the fabric has relaxed with use.
Drafted with AI; not yet reviewed by a person.
About the Author